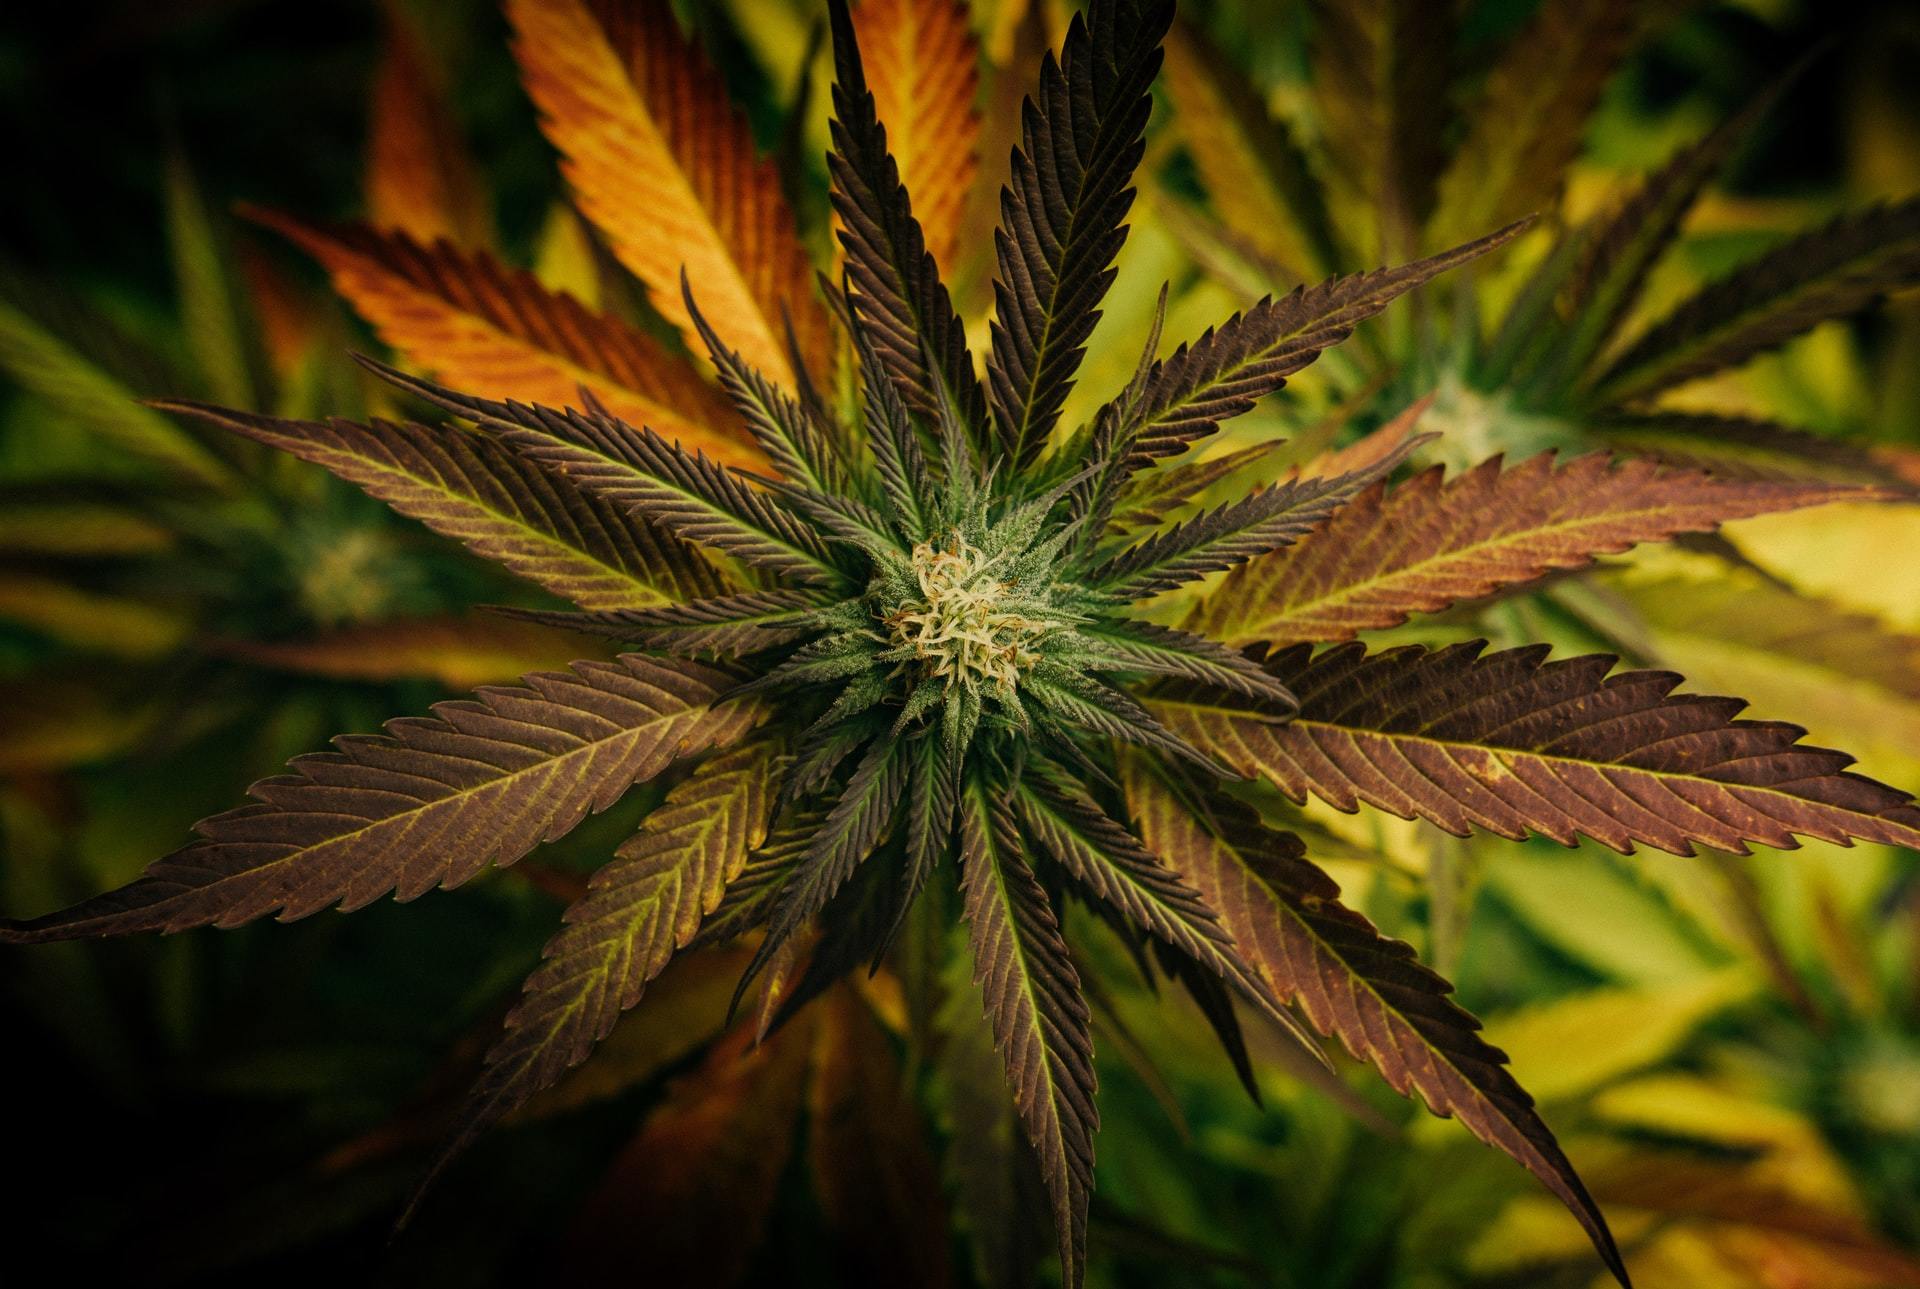
Regardless if you’re a newbie in marijuana growing or have already succeeded in planting and harvesting, one of the essential methods or techniques that you must know is mainlining.
So, what is mainlining, and why it’s an essential technique? Mainlining marijuana plants create a system called manifold that utilizes the stems as well as the branches of your marijuana plants. It creates multiple outlets and a single inlet that allows your plants to improve its yielding ability and it also allows you to shape them safely.
In this post, let’s talk about Mainlining Weed: A Step By Step Guide for Beginners, since not everyone is not that seasoned in terms of marijuana cultivation.
The most exciting part of mainlining weed is that it’s pretty easy to learn and it’s very ideal regardless of your level of expertise in marijuana cultivation. There are various ways to help your marijuana plants get trained aside from mainlining to achieve an increased yield.
We will help you learn the proper way of mainlining weed through our simple but very useful guide. But first, how does mainlining benefit your marijuana plants aside from increased yield? It gives you lesser work in the more matured stage of your marijuana plants; it increases the growth of your plants’ colas without tending to its canopy. It also produces the same yield that makes the curing process a lot simpler. It also reduces the bud-rotting on your plants.
Proper Mainlining of Weed Guide
Step 1: Germinate your chosen strain’s seeds
To start, you should germinate your chosen strain’s seeds so that you can let it grow at least with five nodes before you can transplant it to its permanent medium.
Step 2: Start making its manifold
The manifold of your plants should have a single intake and two mains that will be using the top of your plant and its third node. All you need to do is cut a straight line without using Functional Independence Measure or FIM. Next, you need to remove the surrounding vegetation and the lower third node. Leave its third set of the growth’s tips intact.
Be sure that your materials used should be tied down to the younger mains as this will prevent the skin from breaking. Use gauge wire if you did not secure any wires or ties that are specifically designed for plant support. Also, you have to use coat hangers if you have one or your pipe cleaners. Do not use thin ties or wires.
Step 3: Double up your mains
Your mains should be four by now with still a single intake. As each of the mains will recover, you have to reach directly to the light. You will notice that the stem and freshly sprouted leaves start to lengthened and growing. If these are left at this current point, your plant will be growing two colas; however, this will result in competition to absorb light and nutrients. So, you need to avoid this by from happening by choosing the matching pair for each side of your marijuana plants. This will help you grow new nodes that are adjacent to each other. Make sure that the trunks are distanced equally. Once your plants have the same length or height, you should tie your plants down just like what you need with the two mains.
Step 4: Repeat doubling your mains
You should be repeating what you did in step 3 until you can create enough mains. However, you should stop repeating this if you have four mains that are equal to the number for each cola. If you want to add more, you can repeat step 3. Each time, you must top everything from the current mains all the way to its nodes so that you can distance it equally from its trunk and in a uniform manner.
Step 5: Install the plant cage
Right after you finish creating the additional mains (plants), you should give your plants enough time to recover from transplanting. Once your mains have already recovered and start to grow towards the source of light, you must start installing the plant cage and tie each of your mains to its ring to secure it properly. This will provide your mains or plants a uniformed size and shape which provides each of its equal penetration of the light source through its canopy. By doing this, your top buds will not be shading excessively the lower buds.
When you’re already at this point, you must have done most of the work, however, you just need to keep an eye on the stems of your mains to see if any exceeding growths can result in competition between the plants. If this occurs, just bend it gently or you can tie it down until you can lower the tip slightly so that you can even up with the next cola. There are instances that the wire you attach to the cola can create a shorter angle between the mains.
Step 6: Start removing the first tie-downs
Once you’ve completed installing the manifold, your plant stems should be strong enough to hold its weight and retain its overall shape, so you have to remove the tie-downs. Your tie-downs at this point is not needed anymore. If you don’t remove it, the tie-downs will cause damage to your plants and it prevents it to grow naturally.
Step 7: Observe how mainlining can benefit your plants
At this point, you’re already finished with all the hard work, so you need to sit back, relax, and enjoy how it will flourish using this simple, but very effective technique. If you’re able to mainline your plants properly, you will be benefiting from higher yield and healthier plants.
To Summarize
All of us marijuana growers want to achieve bigger yields as well as achieving denser buds, which makes the reason why mainlining is very essential to achieve all these. Through our post billed Mainlining Weed: A Step By Step Guide for Beginners, you will be able to maximize your plants and benefit from abundant harvest and sturdier plants.